
'ello Lovelies!
So in my speed to close out my holiday shopping (i am still SO behind!) as i was so busy with school and figuring out what my student could yet afford, it would appear that my blog posting schedule has suffered. I suppose it is to be expected; a lesser post regularity due to the holidays. Maybe I love you guys too much for I still think of you as the days of the week pass. It is in this vain that I've enlisted for you a guest post today, written my artist friend Shellon (mentioned in my previous post) for sharing her creative nail tip arsenal!
I'm already plotting my return to her house to have her hook me up with one of these designs!
___
Hey everyone! Thanks Lizelle for the opportunity to guest write a holiday post.
My greatest dilemma as an artist is most likely personal. I'm not the most consistently organized person, no matter how hard I try to stick with a plan. My interest in nail design piqued majorly last year. However, due to how actively I use my hands; be it due to using my fingers with pastel paintings or being in the sea free-diving, my nails tend to be brittle at times. They get to a certain length, if I'm lucky and last a few months... then they all break one by one until I get fed up and cut them all.
A tip for stronger nails longer, naturally? When doing your hair and moisturising it or putting lotion on your skin, massage your nails with the same moisturisers. A friend of mine taught me this when I was in my early teens. She, had amazingly strong, long nails, all compliment to hair grease, that house chores would then have to work hard to break. I have tested it with my own nails and it's how I account for my nails when they look beautiful.
As time has progressed, my inclination for fancy nails has clashed with the pretty colours I find with cheap nail polish as fancy designs don't tend to last long when done with the cheaper shades. This has led me to come up with simple designs that look the same in the early chipping stages and aswell still look forgiveable after a few weeks have passed.
In this post, I shall cover two simple designs that I vary throughout the year, especially if I'm travelling, and a secret I learned this year.

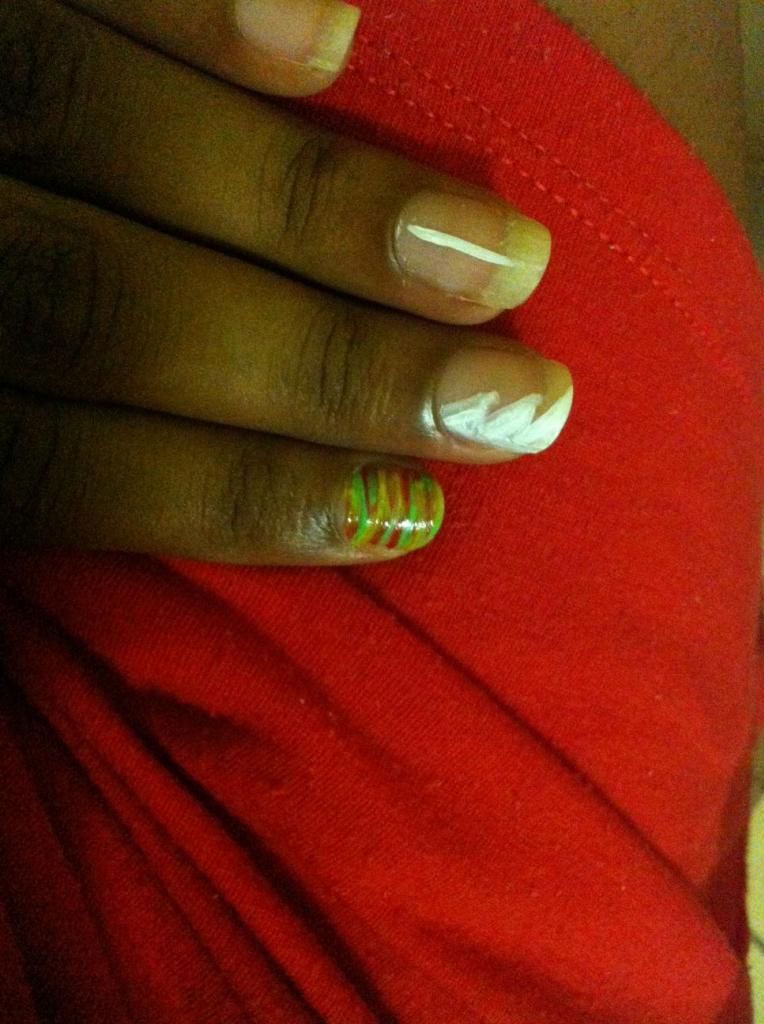
So these first two are very basic. All you need to be able to do is draw lines and make dots. Nothing too complicated.
Tools: I used: 103 TLC (light green) by Kleancolour, B240 Che Bella Red by Borghese, green and red by Emori, a yellow striper by Amused, titanium white acrylic paint, a fine paint brush and a dotting tool.
Tools: I used: 103 TLC (light green) by Kleancolour, B240 Che Bella Red by Borghese, green and red by Emori, a yellow striper by Amused, titanium white acrylic paint, a fine paint brush and a dotting tool.
First design is simply a cluster of random lines.
Instructions: Pick two or more colours for your design. Remember, you can place the clusters in any direction. I like to mix things up a bit as you can see bellow:
Instructions: Pick two or more colours for your design. Remember, you can place the clusters in any direction. I like to mix things up a bit as you can see bellow:
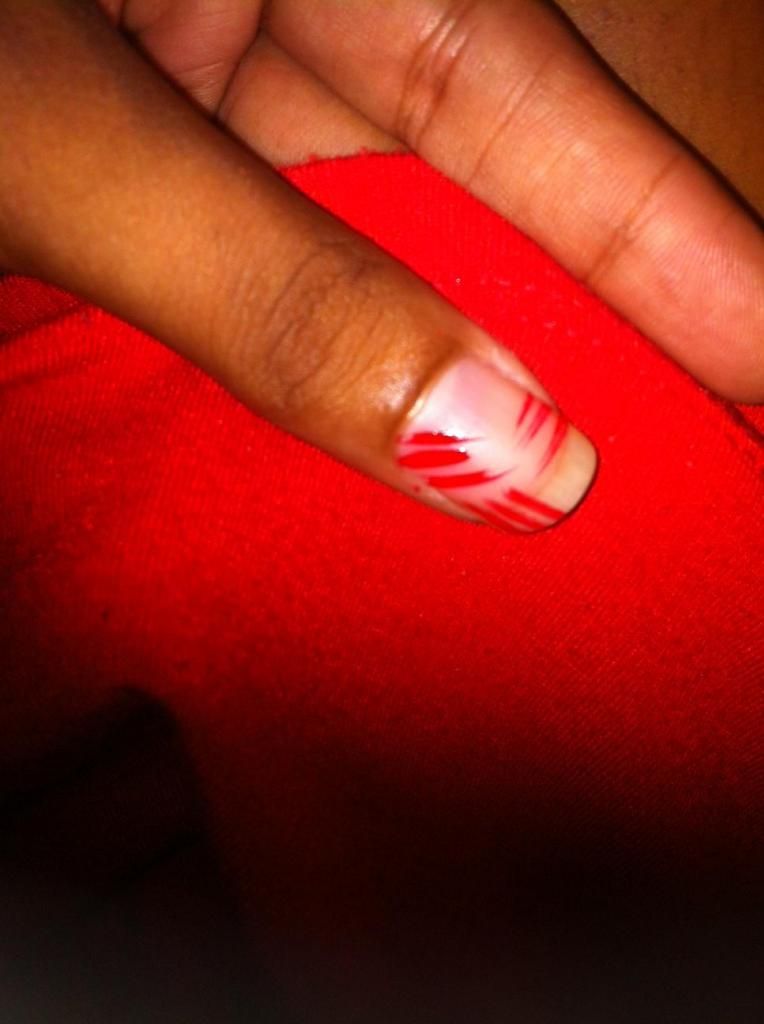
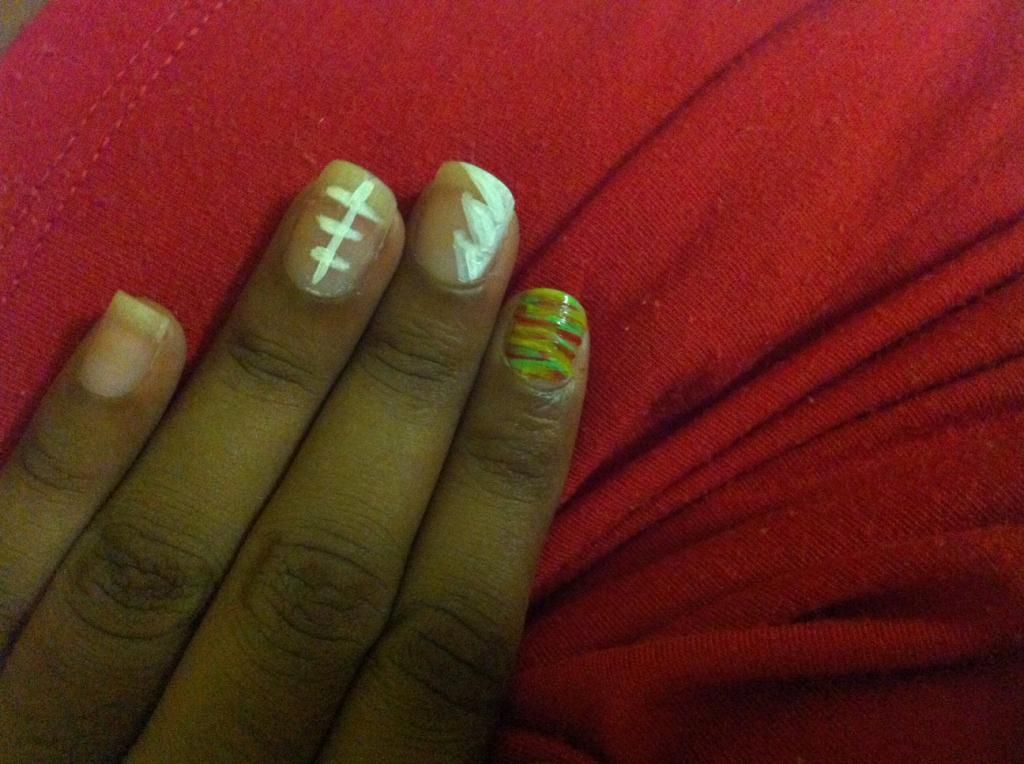
- Then, layer your second colour or colours, side by side with your first set of lines.
- Once this is through, add dots with the dotting tool in bare areas of space.
- Once this is through, add dots with the dotting tool in bare areas of space.
 |
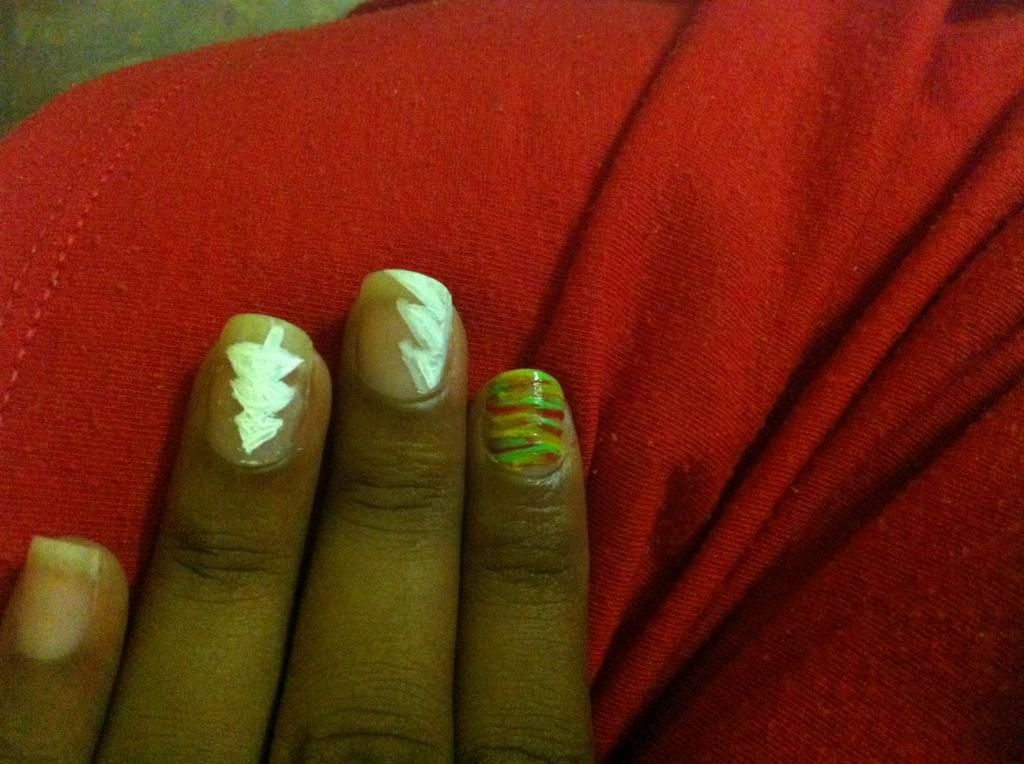
| And then viola...! Nice and simple right? |
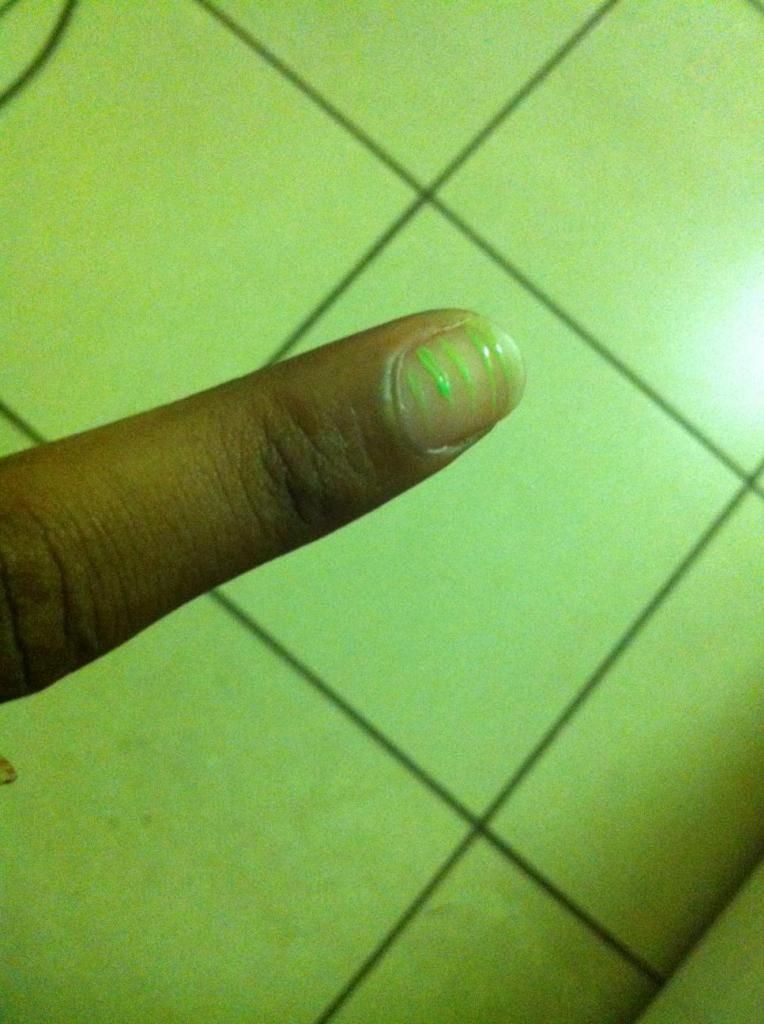
My second design is even simpler and more fool proof.
- Again, pick your colours.
- Draw horizontal lines from one side of your nail to the other, being sure to leave a bit of space between them, kind of like the lines on a bit of writing paper.
-Then draw lines from the opposite side so that the width of your brush strokes has a bit of a mirrored effect.
- Layer your other chosen colours in the spaces between your first set of lines.
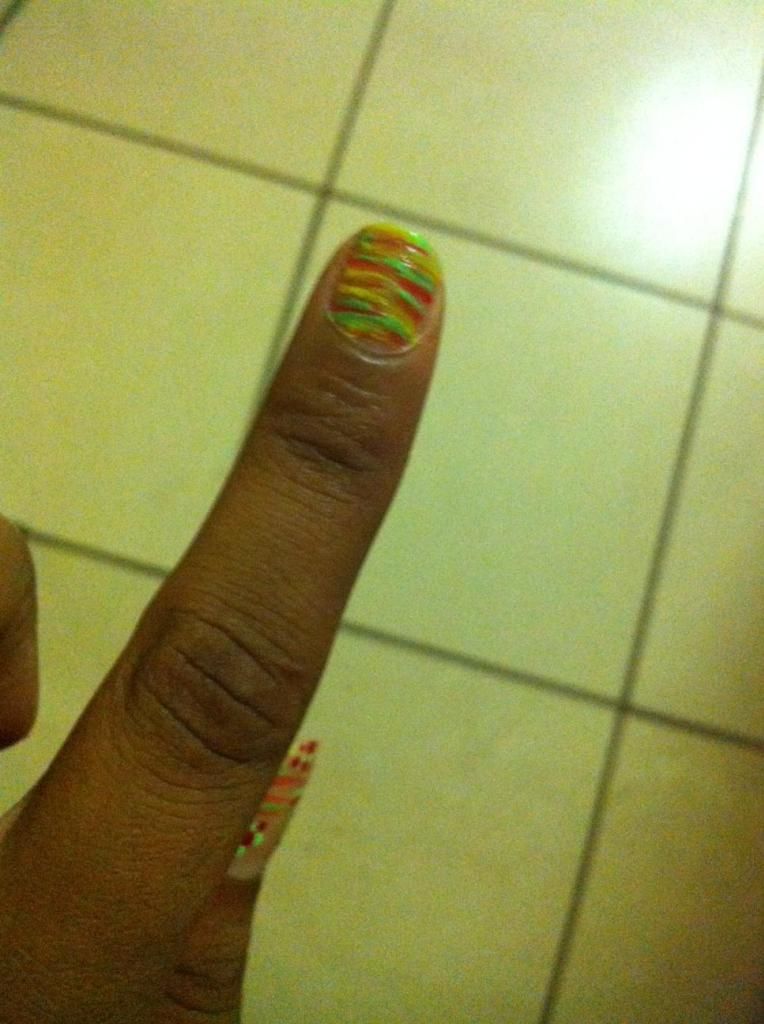
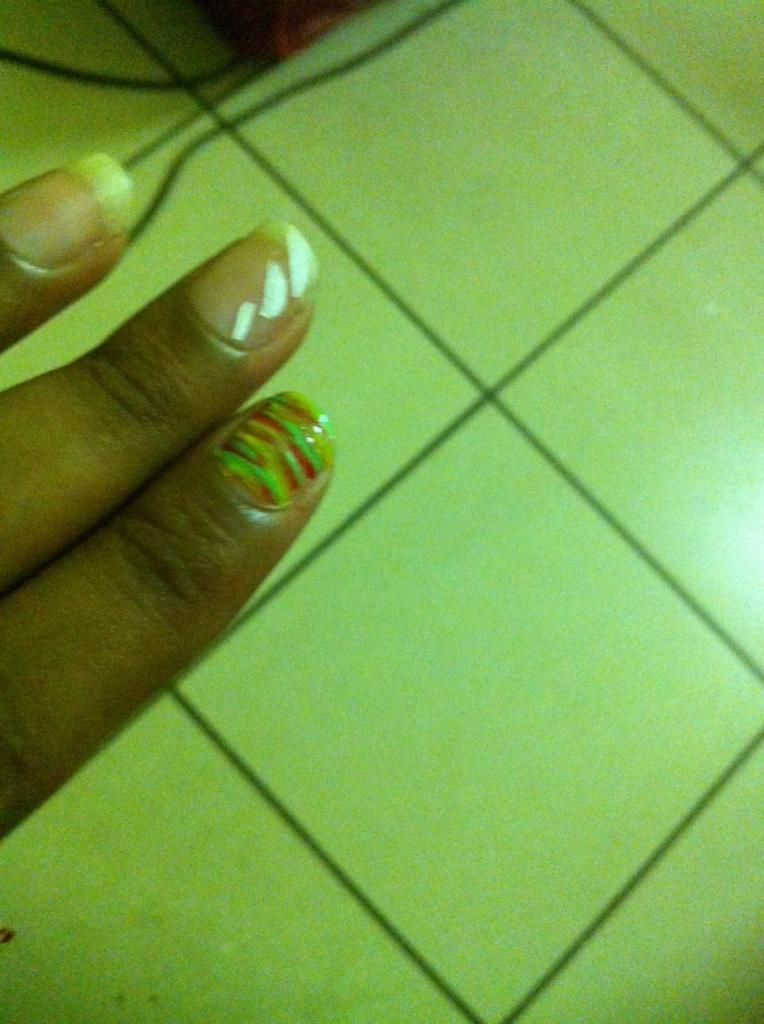
Once you've finished adding all the colours you want, you should result in something looking like this...
The last design is of Christmas trees. I used regular white acrylic paint ( thus the secret, did you know you can use paint as nail polish too? Well you do now. ) for the trees and stripers and the dotting tool to decorate the tree.
First three lines. each slightly longer than the other for the edges of the tree
You can add a white line down the middle for a better guide for when you want to fill in the colour to really frame the shape of the tree.
Now here they are, all filled in!
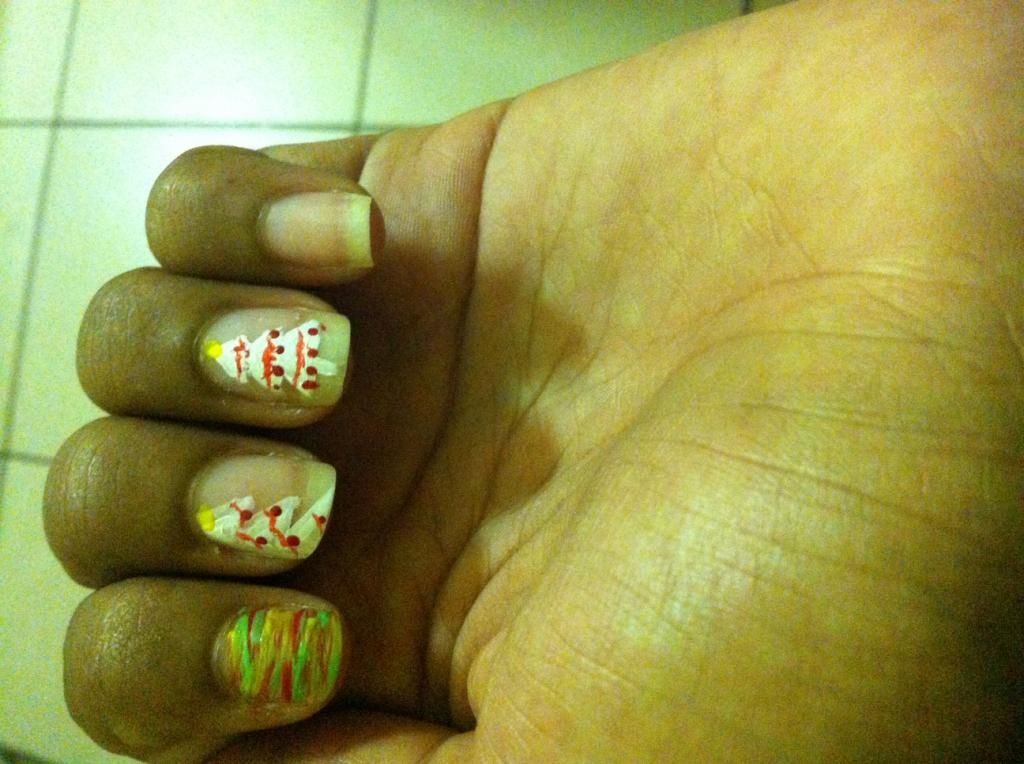
A couple coloured squiggly lines later and you're through!
In order to seal the colour, especially the trees, you must coat with clear nail polish as a top coat. The first two designs, regardless of if you seal it or not, because it uses your nail colour as the background and is a bit messy, anyone looking would think any chips were deliberate and artistic.
There you have it: easy, awesome on the go nail ideas.
Hope these tips and ideas were helpful.
Ciao for now,
Shelli.


Ooh, love your post! I may have a go at the trees myself today (Christmas party invite in the afternoon!).....love how you casually mention 'free diving' in the beginning of your post! I'm imagining warm Caribbean seas now....thank you!
ReplyDeleteI love cute an easy nail designs, especially since it's so hard to do your non dominant hand with complicated designs.
ReplyDeleteMonica, www.pear-shaped-gal.com